
Using Eolis HC- a two-in-one reflective insulation with an integrated vapour barrier – is twice as quick as using traditional alternatives
The first builders and specifiers to use the new style of insulation- Eolis HC- from the manufacturers of the Actis Hybrid range have been delighted with its ease of use and functionality.
This is especially true for those insulating lofts and barn conversions, in part because Eolis HC guarantees that fewer steps are required for them to achieve an impressive U-value and airtightness.
Self-adhesion means that the insulation is swifter to install
The revolutionary Triplex technology at its core means Eolis HC is especially useful for installers dealing with shallow rafters where headroom is at a premium.
Part of the reason for this, in addition to the thinness of the product, is because it doesn’t require the usual 25mm air gap to avoid condensation – at least for most locations throughout the UK.
Using Eolis HC instead of PIR board means there’s no need to cut insulation between each rafter. Instead, installers can just lay the product across the rafters on the inside (warm side) of the building, sealing each section to the next with an integrated self-adhesive lap.
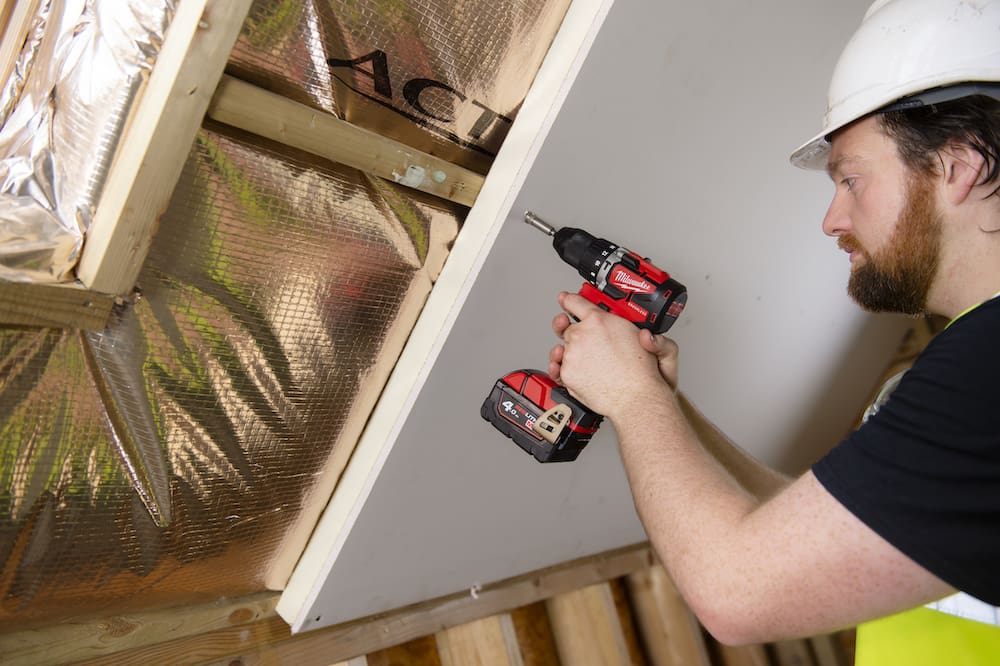
How to install Actis Eolis HC in an existing roof:
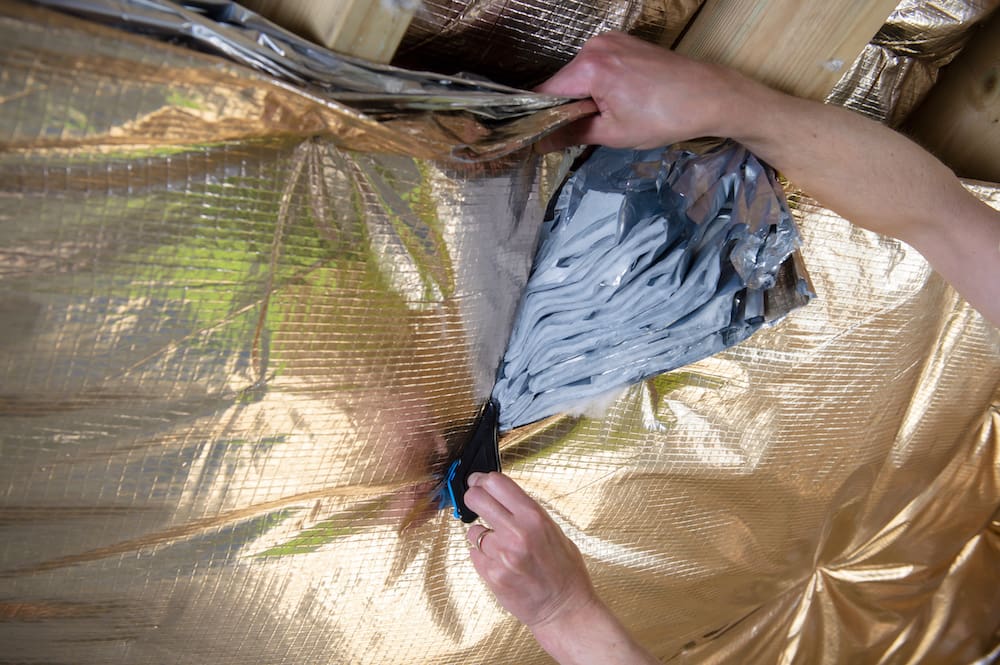
- Remove the packaging. OR – if you need to cut it lengthwise, do this before removing the wrapping, using an insulation saw.
- Use Eolis HC with the grid pattern copper-coloured film facing the inside (the warm side) of the building.
- Install the product across the face of the timbers, taking care that the insulation thickness is maintained between fixing points. Staple to the timbers every 250mm, using min 14mm galvanised staples.
- Align a timber batten where the product is fixed onto the rafters and cut along with an Actis cutter or a sharp knife, pressing the timber batten firmly onto the product.
- Butt-join and overlap Eolis HC with the next layer of the product and seal using the built-in self-adhesive tape. Vertical joints should be butt-jointed and sealed with Actis tape
- All perimeter edges, including around windows and doors, should be stapled every 50mm and secured with tape and batten.
- Fix horizontal or vertical battens (size in accordance with specification eg 25mm, 38mm, 50mm battens), nailing or screwing through the Eolis HC to the timber structure in preparation for the plasterboard stage. Where joints between plasterboard sheets are unsupported, timber noggins should be installed.
In a timber wall, follow the roof instructions above, with one additional, final step:
- Around windows and doors, seal Eolis HC with Actis tape and secure with a batten.
Actis has a variety of resources to help you install Eolis HC
The easiest way to learn how to install Eolis HC is to watch a step-by-step how to video.
As well as an overview showing the start to finish process from unpacking to plasterboard, there are also mini, bitesize snippets showing how to cut the product, how to insert electrical wires and pipes through the Eolis HC and how to cut round doors and windows.


