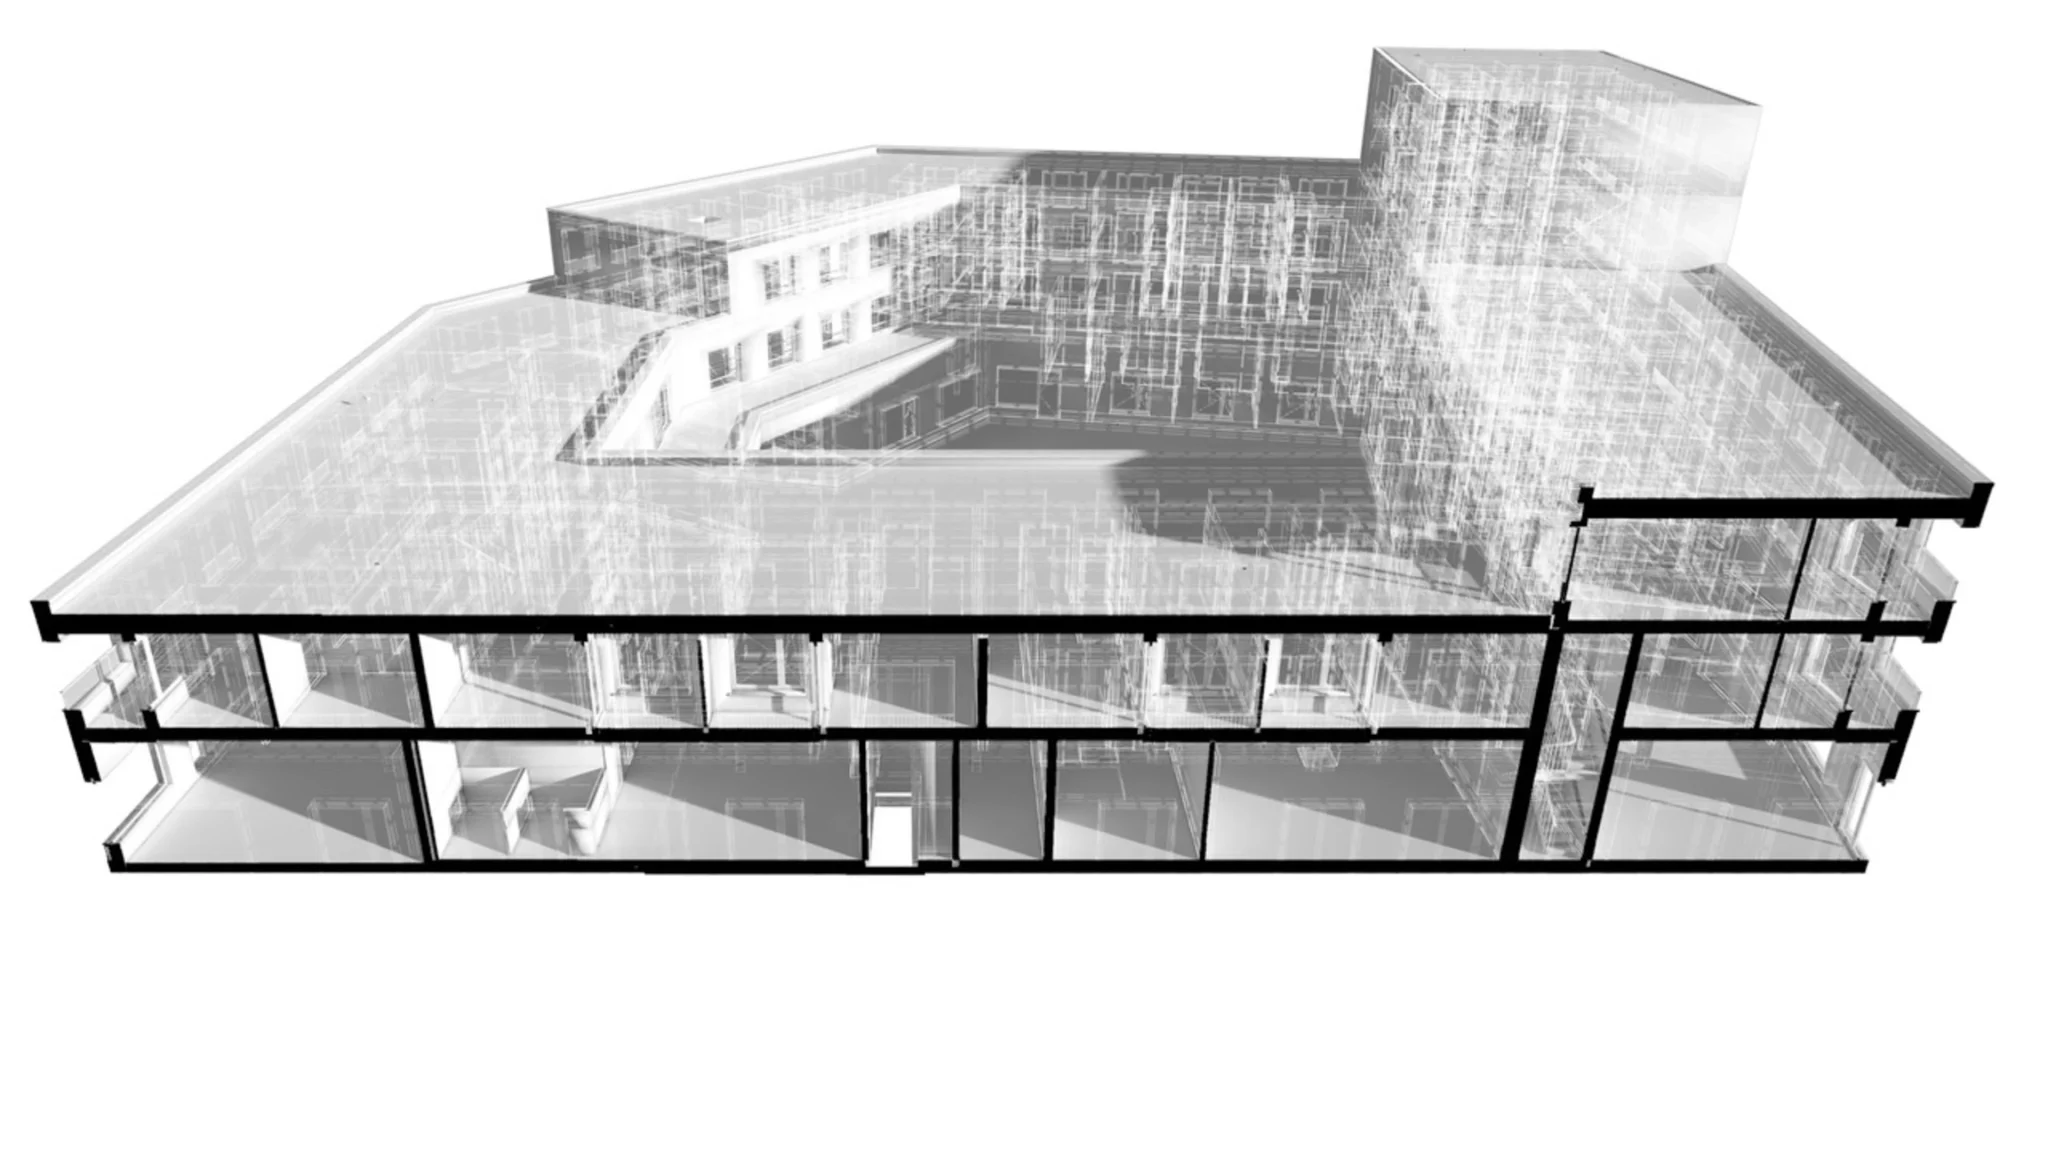
Drafting in Vectorworks software, such as Vectorworks Architect, is fast, intuitive, and easy. But did you know that those same lines and polygons can become a fully integrated BIM model?
By building on your existing 2D geometry and using commands you already know, you can add BIM intelligence with confidence and ease.
Watch the video below, then keep reading to learn more.
Create Objects from Shapes
You can start your transition to a BIM model with the Create Objects from Shapes command. This command turns your initial lines and polygons into intelligent BIM objects in just a few clicks.
If you’ve traced a polyline from hand-drawn lines and curves, for example, you can then select the shape, use the Create Objects from Shapes command, and choose the Object Type you want, such as Wall.
Vectorworks Architect then replaces your line with a smart wall object with parametrically defined height and thickness that show up correctly in your 3D model, sections, elevations, and other documentation.
Running the command on a polygon works the same. Select the shape, choose the command, and then select your desired Object Type. Selecting Hardscape, for instance, lets you adjust the thickness and composition.
Your original geometry from your sketch or 2D draft doesn’t change, but the information behind it does, and that’s the true power of shifting from 2D to BIM.
Model to Floorplan
You can also start developing your design into a BIM model with a 3D massing model, like an extruded footprint from an imported 2D survey drawing.
The Model to Floorplan command bridges the gap between a simple massing model and a BIM model by creating a set of connected walls across each story of your building design.
Start with your selected massing model and then choose the command from the menu. In the dialogue, pick the Wall Style you want to generate, and configure your Wall Settings, including insertion options and component bounds, as needed. Be sure to also confirm that your design layers have the correct layer elevations, since this determines where the new walls land on your Z-axis.
Next, just click OK, and Vectorworks Architect will generate walls that fit your original 3D form. From there, you can delete the extrude, drop slabs in between walls, and start inserting windows to further flesh out your model.
Record Formats and IFC data
Turning lines into walls and masses into floorplans gets you most of the way to BIM, but the last piece is information, the “I” in BIM. That’s where Record Formats come in.
Record Formats are custom data sets you build once and reuse across projects. On their own, 3D furniture symbols, like an armchair, a coffee table, or a sofa, are just geometry. But with Record Formats, each symbol can include useful information.
In the Resource Manager, you can assign a Record Format to the symbol definition with fields like Product Name, ID, Material, Manufacturer, and Cost. That data shows up in the Data pane of your Object Info Palette, and every new instance of the symbol carries the same record.
Record Formats let you build furniture lists, kitchen equipment schedules, or sanitaryware lists, complete with product information and costs.
And if you’re working to information standards like ISO 19650, Vectorworks Architect already assigns this data to most objects by default, so a door already knows it’s a door and a wall already knows it’s a wall. You can add details like a door’s fire rating to its data, and Vectorworks maps that information to where your BIM coordinator can easily find it.
As you can see, with just a few commands and a few clicks, you can turn your most basic geometry into an informative BIM model.
Vectorworks tips in 5 minutes
You don’t need a ton of time to learn about other Vectorworks features, such as Project Sharing, Clip Cube, and more. In fact, you only need five(ish) minutes.
Check out the “Vectorworks in 5ish” YouTube series for quick, practical videos designed to help you work smarter and faster.